Kimchi Fried Rice Balls: Crispy Korean Snack with Spicy, Cheesy Flavor
🔥 Kimchi Fried Rice Balls: A Crispy, Spicy Korean-Inspired Snack
🇰🇷 A Cultural Mash-Up with Serious Flavor
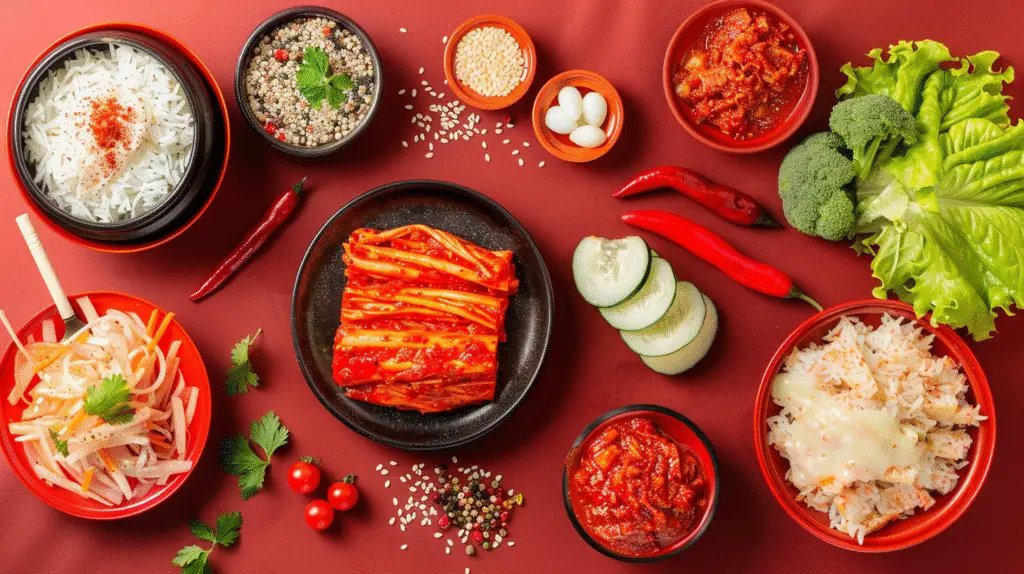
Kimchi fried rice balls are a bold, crispy fusion of traditional Korean cuisine and global street food flair. Their roots go back to jumeokbap, which translates to “fist rice” in Korean—a nod to their compact, handheld shape. Originally eaten as portable meals, these rice balls were a staple among workers and travelers, especially during Korea’s post-war era when simple, nourishing food was key.
Fast forward to today, and you’ll find kimchi fried rice balls sizzling on the streets of Seoul, in modern Asian fusion restaurants, and even at food truck festivals around the world. Influenced by Japanese onigiri and Italian arancini, this fried version of the beloved Korean snack features a spicy twist: kimchi, Korea’s famous fermented vegetable mix, brings tang, heat, and probiotics to every bite.
You’ll find these crispy delights not only in Korea, but also in foodie cities across the USA, Canada, Japan, Australia, the Philippines, Singapore, and the UK. Their universal appeal lies in the addictive texture—crispy on the outside, melty and savory on the inside—and their versatility as snacks, party appetizers, or meal-prep stars.
Whether you’re looking for a way to use up leftover rice or just craving something bold and satisfying, Kimchi Fried Rice Balls offer a crave-worthy experience with every crunchy, cheesy, umami-packed bite.
🍚 What You’ll Need to Make Kimchi Fried Rice Balls
🧰 Essential Tools for Preparation
To craft the perfect kimchi fried rice balls, having the right tools on hand will streamline the process and ensure optimal results:
Large Mixing Bowl: For combining the rice and kimchi mixture thoroughly.
Frying Pan or Deep Fryer: Essential for achieving that crispy exterior.
Measuring Cups and Spoons: To ensure accurate ingredient proportions.
Ice Cream Scoop or Hands: For shaping uniform rice balls.
Oil Thermometer (Optional): Helps maintain the ideal frying temperature.
🧑🍳 Ingredient Prep Tips
Use Day-Old Rice: Cold, leftover rice holds its shape better and prevents sogginess.
Finely Chop Kimchi: Ensures even distribution and prevents large chunks from causing structural issues.
Chill the Mixture: Letting the rice mixture rest in the refrigerator for 15–30 minutes helps in forming firm balls.
Bullet Points:
Wear food-safe gloves to prevent sticking and for easy shaping.
Chill formed rice balls before frying to maintain their shape.
Use a wire rack post-frying to keep the rice balls crispy.
🥬 Ingredients

🍚 Core Ingredients for the Rice Mixture
These ingredients form the flavorful base of your kimchi fried rice balls. They combine spicy, cheesy, and umami-rich elements in every bite:
2 cups cooked white rice (preferably day-old and cold)
¾ cup kimchi, finely chopped and drained
½ cup shredded mozzarella cheese (or dairy-free alternative)
2 tablespoons gochujang (Korean chili paste)
1 egg
¼ cup chopped green onions
Salt and pepper, to taste
This combination creates a rich, spicy, and satisfying filling with plenty of texture and stretch.
🧂 For Breading & Frying
½ cup all-purpose flour
2 eggs, beaten
1 cup panko breadcrumbs
Neutral oil (vegetable or canola) for deep or shallow frying
The triple-layered breading creates that irresistible crisp shell and seals in all the cheesy goodness.
💡 Optional Add-Ins & Enhancements
Sesame seeds: Add to the rice mix or the panko for nutty flavor.
Kimchi juice: Use a spoonful for more kick and moisture.
Vegan cheese: A great swap for those avoiding dairy.
Cubes of cheese: For stuffed centers and gooey cheese pulls.
Want another creative way to use fermented ingredients? Try our Spicy Cucumber Sesame Slaw—it’s crunchy, tangy, and complements these crispy rice balls perfectly.
🔥 Step-by-Step Instructions
🍳 Prepare the Kimchi Rice Mixture
Sauté the Kimchi: In a skillet over medium heat, add a tablespoon of oil and sauté ¾ cup of finely chopped kimchi until most of the moisture has evaporated, about 3–4 minutes.
Season the Kimchi: Add 2 tablespoons of gochujang, 1 teaspoon of sesame oil, and 2 teaspoons of honey to the pan. Stir well to combine and cook for an additional 2–3 minutes until the mixture thickens.
Combine with Rice: In a large mixing bowl, combine the cooked kimchi mixture with 2 cups of cold, day-old short-grain rice. Mix thoroughly until the rice is evenly coated.
Add Cheese and Green Onions: Fold in ½ cup of shredded mozzarella cheese and ¼ cup of chopped green onions. Mix until evenly distributed.
Chill the Mixture: Cover the bowl and refrigerate the mixture for 15–30 minutes to allow it to firm up, making it easier to shape into balls.
🧆 Form and Cook the Rice Balls
Shape the Rice Balls: With damp hands or using an ice cream scoop, take portions of the chilled rice mixture and form them into golf ball-sized spheres. Press firmly to ensure they hold together.
Prepare the Breading Station: Set up three shallow bowls: one with ½ cup of all-purpose flour, one with 2 beaten eggs, and one with 1 cup of panko breadcrumbs.
Bread the Rice Balls: Roll each rice ball in flour, then dip into the beaten eggs, and finally coat with panko breadcrumbs. For an extra crispy texture, repeat the egg and panko steps.
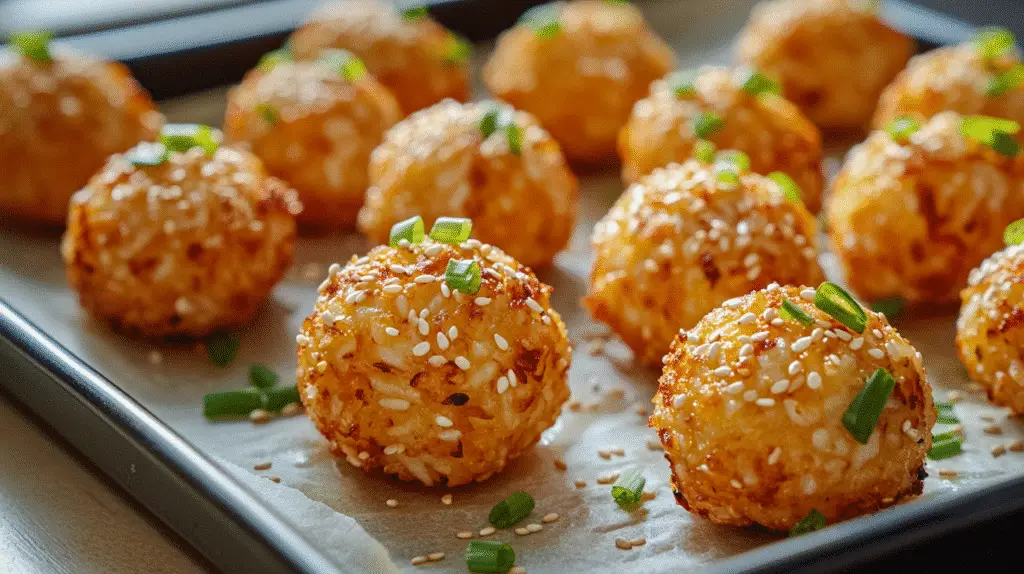
Fry the Rice Balls: In a deep fryer or heavy-bottomed pot, heat neutral oil (vegetable or canola) to 350°F (175°C). Fry the rice balls in batches, turning occasionally, until golden brown and crispy, about 2–3 minutes per side.
Drain and Serve: Remove the fried rice balls with a slotted spoon and drain on a paper towel-lined plate or wire rack. Serve hot, optionally garnished with sesame seeds or chopped green onions.
🔄 Air Fryer Option
For a lighter version, preheat your air fryer to 400°F (200°C). Place the breaded rice balls in the air fryer basket, ensuring they are not touching. Lightly spray with cooking oil and air fry for 10–12 minutes, flipping halfway through, until golden and crispy.
📝 Conclusion
Hot Honey Roasted Sweet Potatoes offer a delightful fusion of sweet, spicy, and savory flavors, making them an exceptional addition to any meal. Their crispy edges and tender centers, enhanced by the kick of hot honey, provide a satisfying contrast that appeals to a wide range of palates.
Beyond their taste, these sweet potatoes are versatile and can complement various dishes, from grilled meats to fresh salads. Their vibrant color and bold flavor also make them a visually appealing and flavorful choice for festive occasions and everyday dinners alike.
Incorporating Hot Honey Roasted Sweet Potatoes into your culinary repertoire not only adds variety but also introduces a dish that’s both comforting and exciting. Whether you’re hosting a gathering or preparing a simple family meal, this recipe is sure to impress and satisfy.
🧮 Nutrition Score & Health Benefits
🥗 Nutritional Breakdown (Per 2 Rice Balls)
Here’s the approximate nutrition profile for two standard-sized kimchi fried rice balls (deep-fried version):
Calories: 180 kcal
Protein: 6g
Carbohydrates: 24g
Fat: 7g
Fiber: 2g
Sodium: 300mg
These values will vary slightly depending on the amount of cheese, oil absorption during frying, and optional fillings. Opting for an air-fried version can cut fat content by up to 30%.
🌿 Health Highlights
🧄 Kimchi: The Gut-Healthy Superstar
Kimchi isn’t just a flavor bomb—it’s packed with probiotics, vitamins A and C, and powerful antioxidants. It promotes gut health, boosts immune function, and may even have anti-inflammatory effects. Including it in these rice balls not only brings spice but also digestive benefits.
🍚 Rice & Cheese: Balanced Energy and Satiety
Rice provides a steady source of carbohydrates for sustained energy, while the inclusion of cheese or tofu adds a boost of protein and fat that helps you feel fuller longer. For a whole-grain option, brown or black rice can increase fiber content and antioxidants.
For another delicious and gut-friendly recipe, check out our Creamy Avocado Deviled Eggs—they’re rich in healthy fats and perfect for rounding out a protein-packed snack board.
✅ Make It Healthier
Air Fry Instead of Deep Fry: Reduces oil absorption significantly.
Use Vegan or Low-Fat Cheese: Cuts saturated fat and cholesterol.
Swap to Brown Rice: Adds fiber and lowers the glycemic impact.
🧊 Serving & Storage Tips
🍽️ Serving Suggestions
Kimchi Fried Rice Balls are incredibly versatile and can be enjoyed in various ways:
Appetizer Platter: Serve them alongside dipping sauces like spicy mayo, soy glaze, or gochujang aioli for a flavorful start to any meal.
Bento Boxes: Include them in lunchboxes with pickled vegetables and fresh greens for a balanced meal.
Party Snacks: Present them on skewers or toothpicks for easy, bite-sized party treats.
For a refreshing side, consider pairing them with our Pickled Red Cabbage Slaw, which adds a tangy crunch that complements the spicy rice balls.
🧰 Storage & Reheating
To maintain the crispiness and flavor of your Kimchi Fried Rice Balls:
Refrigeration: Store any leftovers in an airtight container in the refrigerator for up to 3 days.
Reheating: Reheat them in an oven or air fryer at 350°F (175°C) for 5–7 minutes to restore their crispy texture. Avoid microwaving, as it can make them soggy.
Freezing: For longer storage, freeze the uncooked, breaded rice balls on a baking sheet until solid, then transfer them to a freezer-safe bag. They can be fried or air-fried directly from frozen, adding a few extra minutes to the cooking time.
By following these tips, you can enjoy your Kimchi Fried Rice Balls at their best, whether freshly made or as a convenient make-ahead option.
🔄 Recipe Variations

🧀 By Filling: Flavorful Centers for Every Preference
Kimchi rice balls are endlessly adaptable. Here are a few filling ideas to inspire your next batch:
Cheesy Center: Insert a cube of mozzarella or cream cheese into the center of each ball before breading. It creates an indulgent, gooey core once fried.
Protein-Packed: Mix in finely chopped spam, bulgogi beef, or sautéed tofu to boost the protein content and make them more satisfying.
Vegan Version: Swap dairy cheese for vegan mozzarella and use an egg replacer like flax eggs or aquafaba. Opt for air frying or baking to reduce oil usage.
These adaptations keep the bold kimchi flavor front and center while letting you customize based on taste and dietary needs.
🌾 By Coating: Crunch That Counts
The outer layer is just as important as the filling. Try these variations for extra flair:
Crushed Seaweed: Add crushed roasted seaweed (gim or nori) to the breadcrumb coating for an umami punch and a unique green speckled crust.
Sesame Panko: Mix sesame seeds into your panko crumbs for a nutty, toasty crunch.
Spicy Cornflake Crust: For ultra crunch and a mild sweetness, crush cornflakes and blend with chili powder.
Looking for another crispy, flavorful snack idea? Try our Everything Bagel Roasted Cauliflower—a crunchy, oven-baked dish that offers big flavor with a plant-based twist.
🌀 Pro Tips for Switching It Up
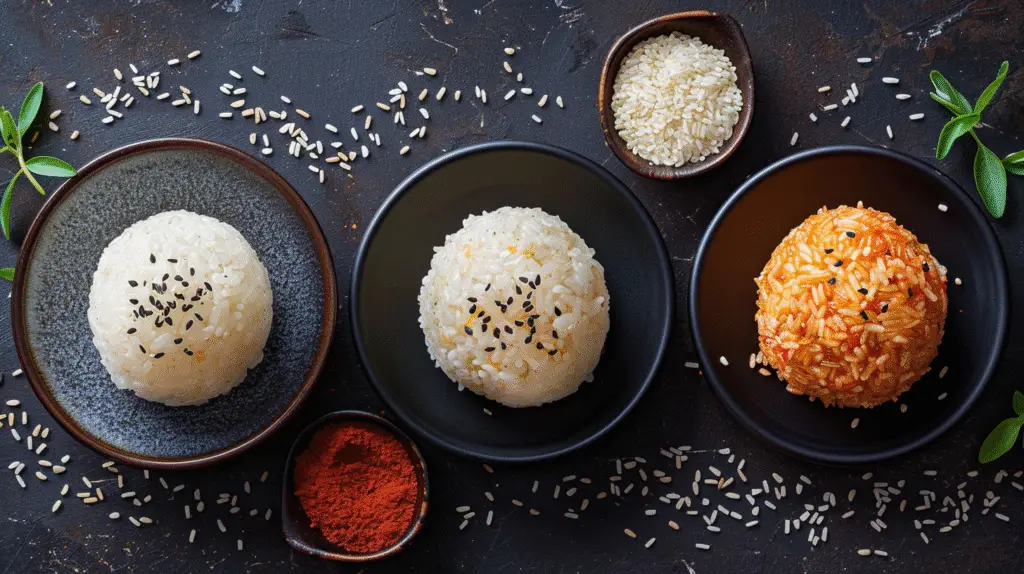
Use black rice or purple rice for dramatic color contrast and extra fiber.
Try risotto-style rice with parmesan to create Korean-Italian fusion “kimchi arancini.”
Make mini versions for tapas night or game day finger food.
❓ Frequently Asked Questions
🍚 What kind of rice works best for kimchi fried rice balls?
Short-grain or medium-grain rice, such as sushi rice or Calrose, is ideal. These varieties are stickier and help the rice balls hold their shape without falling apart.
❌ Can I make kimchi rice balls without frying them?
Absolutely. You can enjoy them pan-seared, air-fried, or even uncoated and chilled. Skip the breading and press them into firm balls—perfect for lunch boxes or lighter snacks.
🧊 How do I prevent the rice balls from falling apart during frying?
Two things help most:
Chill the shaped rice balls for 15–30 minutes before breading.
Don’t overstuff or use overly wet ingredients. A firm press while shaping is key.
🥶 Are these rice balls good for meal prep or freezing?
Yes! You can freeze the breaded, uncooked rice balls in a single layer. Then transfer them to a freezer-safe bag and fry (or air-fry) straight from frozen. Great for quick snacks or last-minute appetizers.
For another prep-ahead, freezer-friendly meal, check out our Crunchwrap Casserole—a crowd-pleasing comfort dish perfect for busy weeknights.
📝 Conclusion

Kimchi Fried Rice Balls are more than just a snack—they’re a bite-sized celebration of Korean culinary creativity. With their crunchy golden crust, spicy fermented kick, and cheesy, savory filling, they deliver layers of flavor in every mouthful. Whether served hot at a dinner party, packed into a lunchbox, or enjoyed straight out of the air fryer, they never fail to satisfy.
The beauty of this recipe lies in its versatility. You can tweak the filling, experiment with coatings, or even swap out ingredients to suit dietary needs. Want a vegan version? Easy. Prefer baking to frying? Go for it. Craving something fusion? Try stuffing them with cream cheese and jalapeños for a Korean–Tex-Mex twist.
Not only are these rice balls deeply flavorful, they’re practical, too. They’re a smart way to use up leftover rice and kimchi, and their make-ahead-and-freeze capability makes them perfect for busy weeks. Plus, they’re packed with gut-friendly probiotics and can be made lighter by using an air fryer or whole-grain rice.
In a world full of repetitive snacks, kimchi fried rice balls stand out—they’re bold, customizable, and irresistibly crunchy. So the next time you’re in the mood for something a little spicy, a little crispy, and a lot comforting, give this recipe a try. It might just become your new favorite finger food.

